
Backing up a WordPress site (well, any website) is something that is important and can be incredibly easy to do. There are several reasons to make a backup, but mainly it will help stop a heartache down the line. This might be from something as simple as an updated failed and your site isn’t responsive, or worst yet, your site got hacked. This article will show you not only how to backup your site, but when to do so, and how to restore your site to a previous saved backup.
UpdraftPlus is a “freemium” plugin meaning that the core features are completely free to use, but if you want more features, you pay for them. It is one of the most popular plugins available to make backups with 3+ million active installations world-wide.
Atomic Coffee Media always installs Updraft Plus on each site we create, however, if you already have a site, installing this plugin is pretty simple.
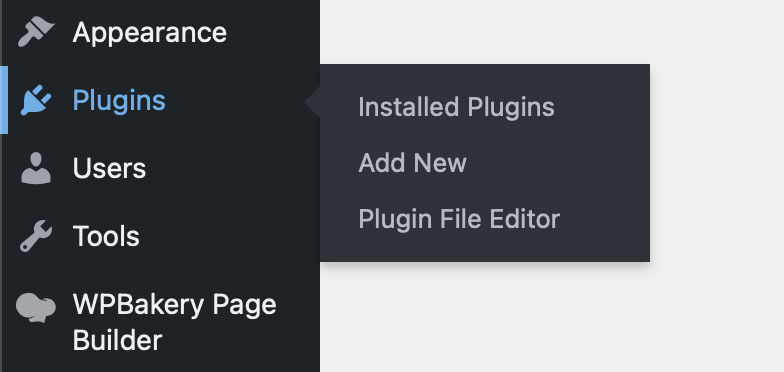
Install Plugin
- Go “plugins” ->“Add New
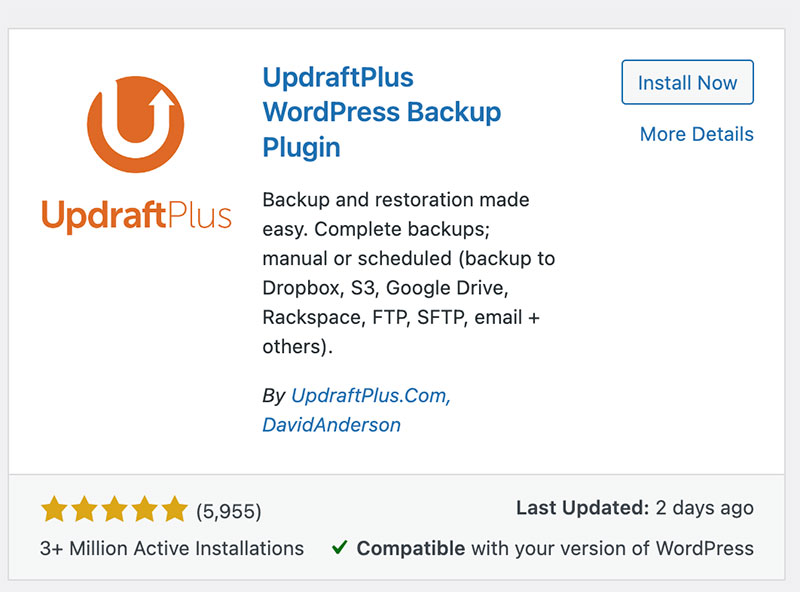
- Search for “updraftplus”, and then click “Install now”
- After it installs, the button with change from “Install now” to “Activate”. Click on that.
That’s ALL!
Settings
UpdraftPlus settings can be found on the left menu under “Settings” -> UpdraftPlus. However, the plugin also added a handy way to access everything by adding a new top nav link called “UpdraftPlus”.
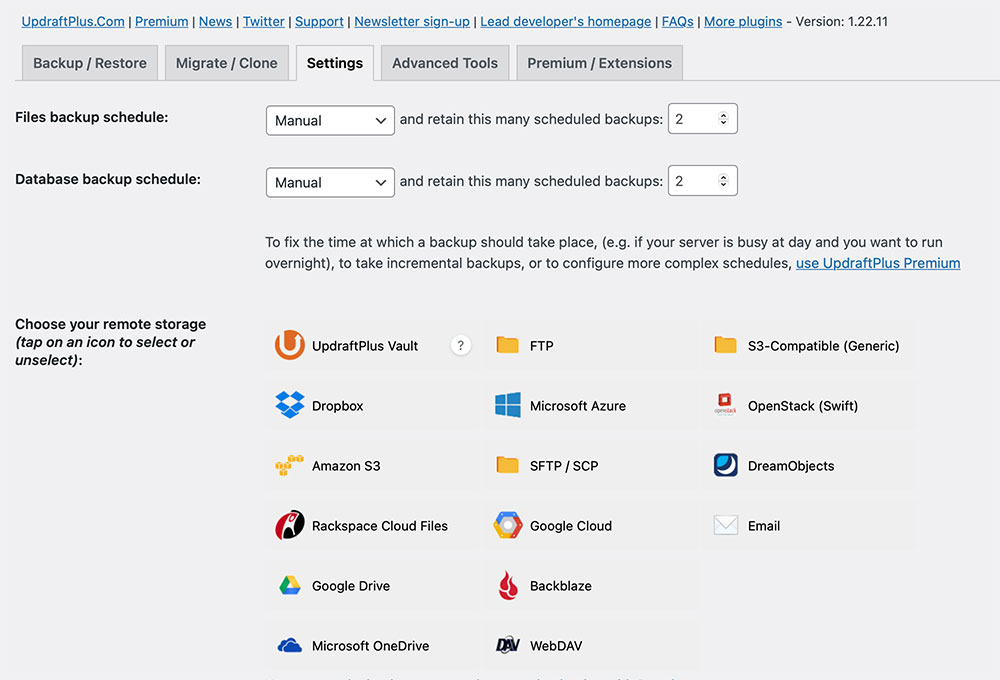
In the settings, you can determine if you want to manually backup you site, or even choose a schedule and have the backups taken care of automatically. You can also determine the amount of backups you want to store. Each or these backups takes a bunch of space, so I typically leave it at the default “2” backups.
You can also choose where to store the backups. If you choose nothing it will store it on your server. However, you can choose a ton of other places to keep your backups safe. For example you can store your backups on DropBox or Google Drive for safe keeping. This is handy as even if your server is completely destroyed, you can restore your site from the remote location. It does take a bit longer when you want to restore things however, but I think it’s worth it.
Using UpdraftPlus
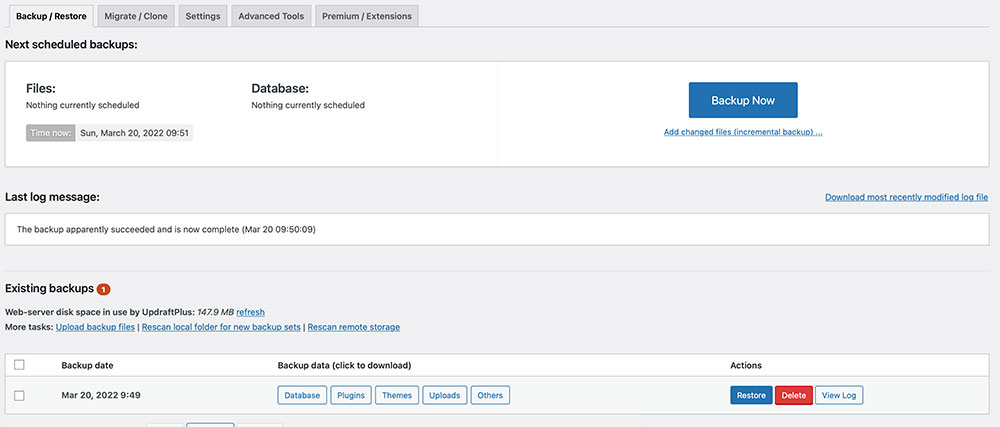
After configuring your settings, backups could never be easier. If you chose to have automatic backups, you can just sit back and the plugin will automatically create them. If you chose manually, you simply go to “UpdraftPlus” -> “Backup / Restore and click on the “Backup Now” button. A popup will appear which will ask you if you want to backup both the files and database. Of course you do, so leave both check and click on “Backup Now”.
A progress bar will appear and you can see the activity of the backup. The larger your site the longer this will take. When it’s done, you can see the backup listed below the Backup section.
Restore
As mentioned above your backups are listed below the backup section. There are three columns. One is the date of the backup, which is handy if you know you needed to rollback to a certain date. The second column has 5 buttons named Database, Plugins, Themes, Uploads, and Others. Your can click on any of these to download each item directly to your computer. I never found this useful, however, maybe you will.
The third column named “Actions” is the most important as you can choose to delete a backup or restore a backup. Clicking on restore brings you to a screen on what you want to restore. I always click on everything here, then click on “Next”. You will be presented a screen that verifies the plugin processed everything and is ready to restore. Click on “Restore” and sit back while the plugin does its magic. Once again, this could take a bit longer depending on the size of your site, or if your backing up remotely.